Generating a Subcontractor Pay App
This page will provide step-by-step instructions for generating a subcontractor payment application (Pay App) in Site Specs.
Overview
Site Specs is great for generating and processing subcontractor payment applications. Site Specs saves users a ton of time by enabling vouchering certified pay apps, administering the internal approval process, as well as submitting the vouchered pay app to accounting for processing (if your company has an accounting integration with Site Specs). Below, we will cover generating and processing subcontractor pay apps as well as tracking payments.
Steps
To generate your first payment application (pay app):
-
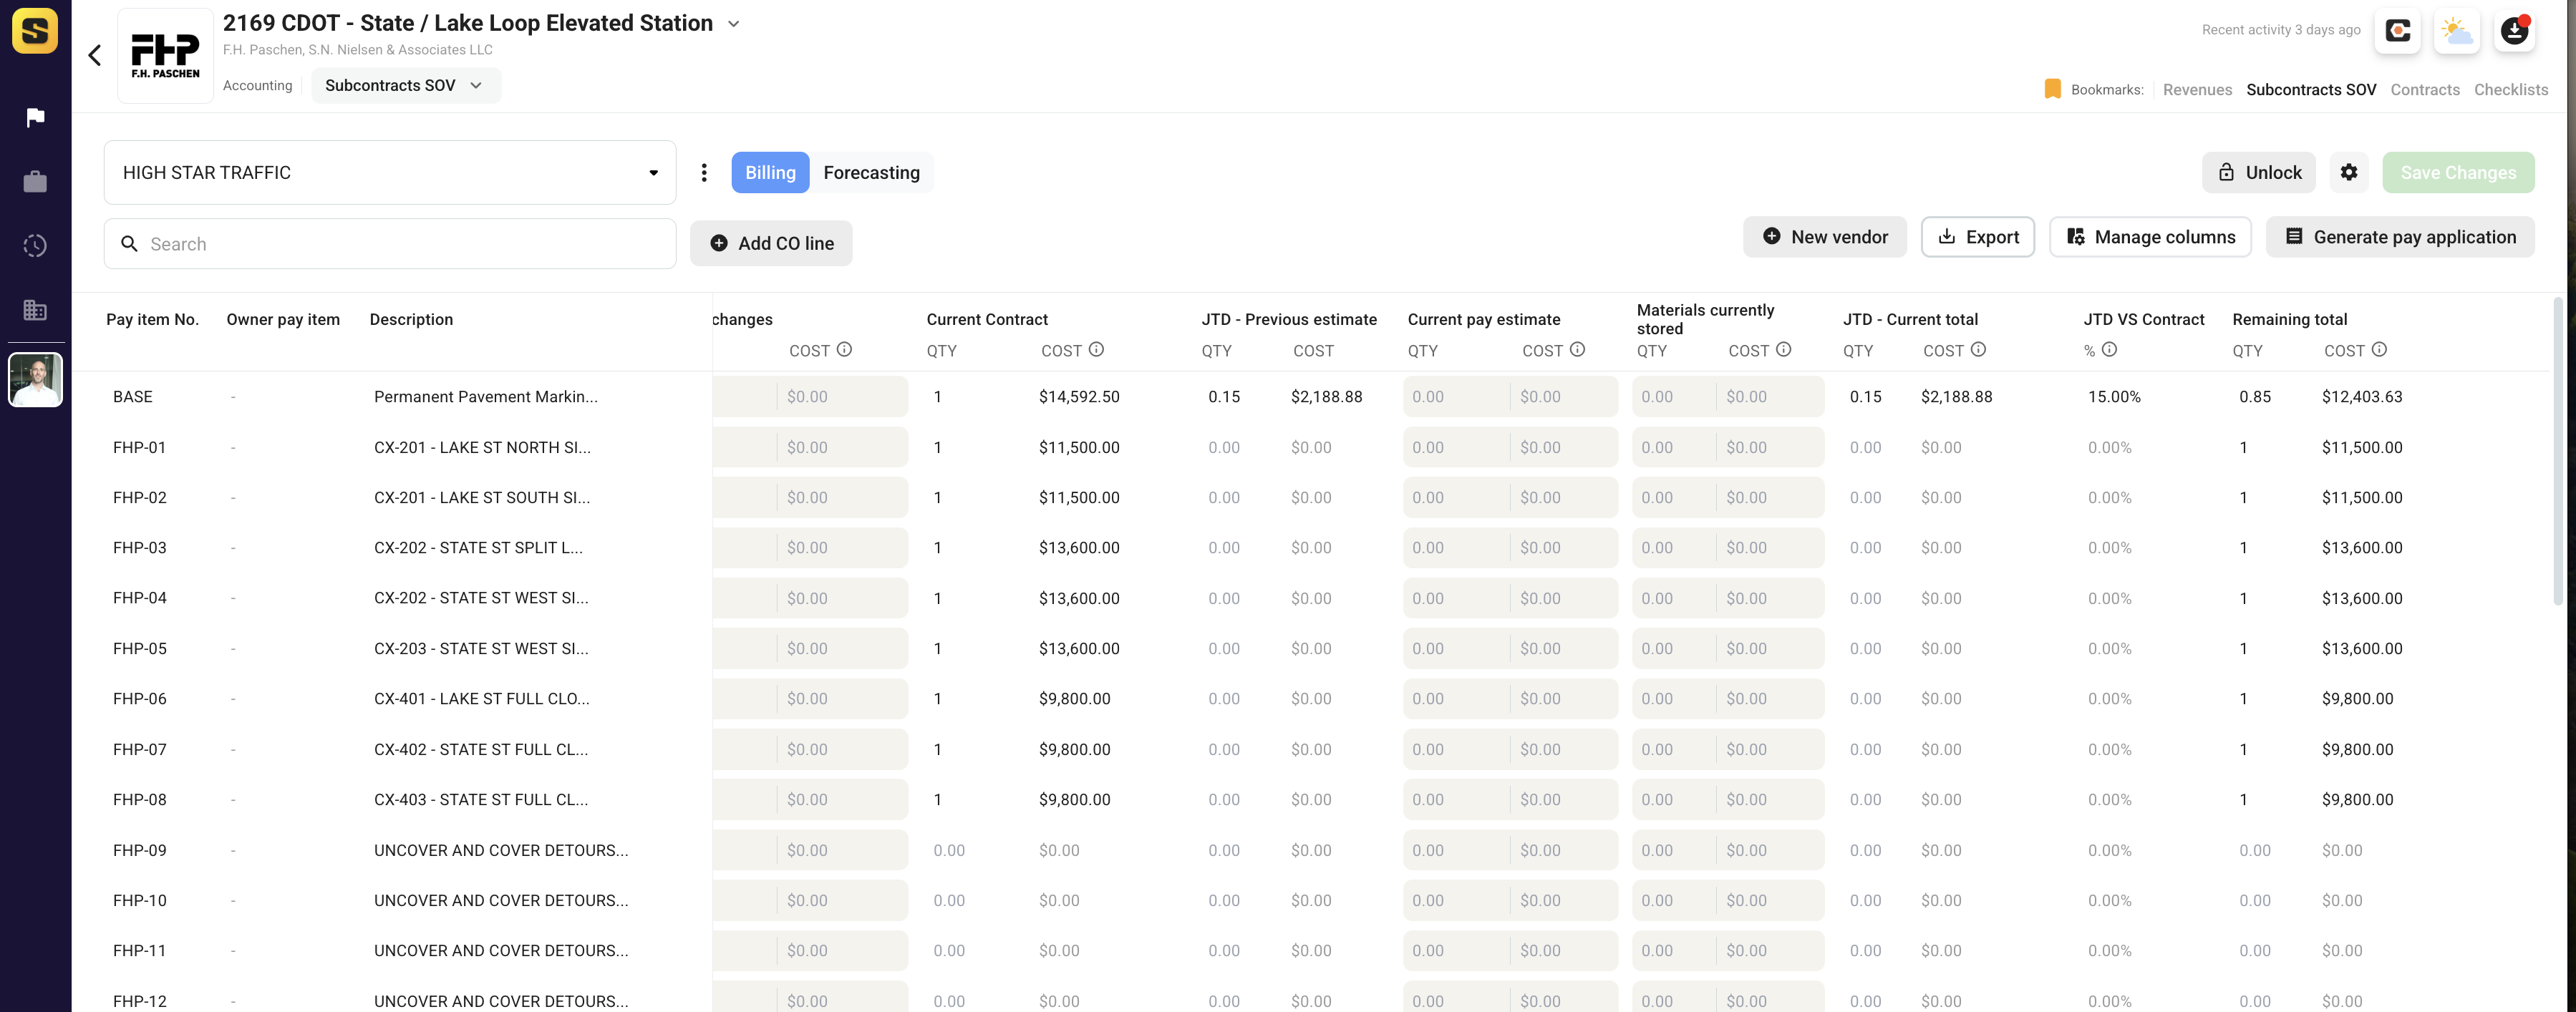
Navigate the the Subcontractor SOV tab within the project and select the correct vendor from the drop down list of project vendors.
-
Input the Current Pay Estimate billable QTYs for each line item in the schedule of values.
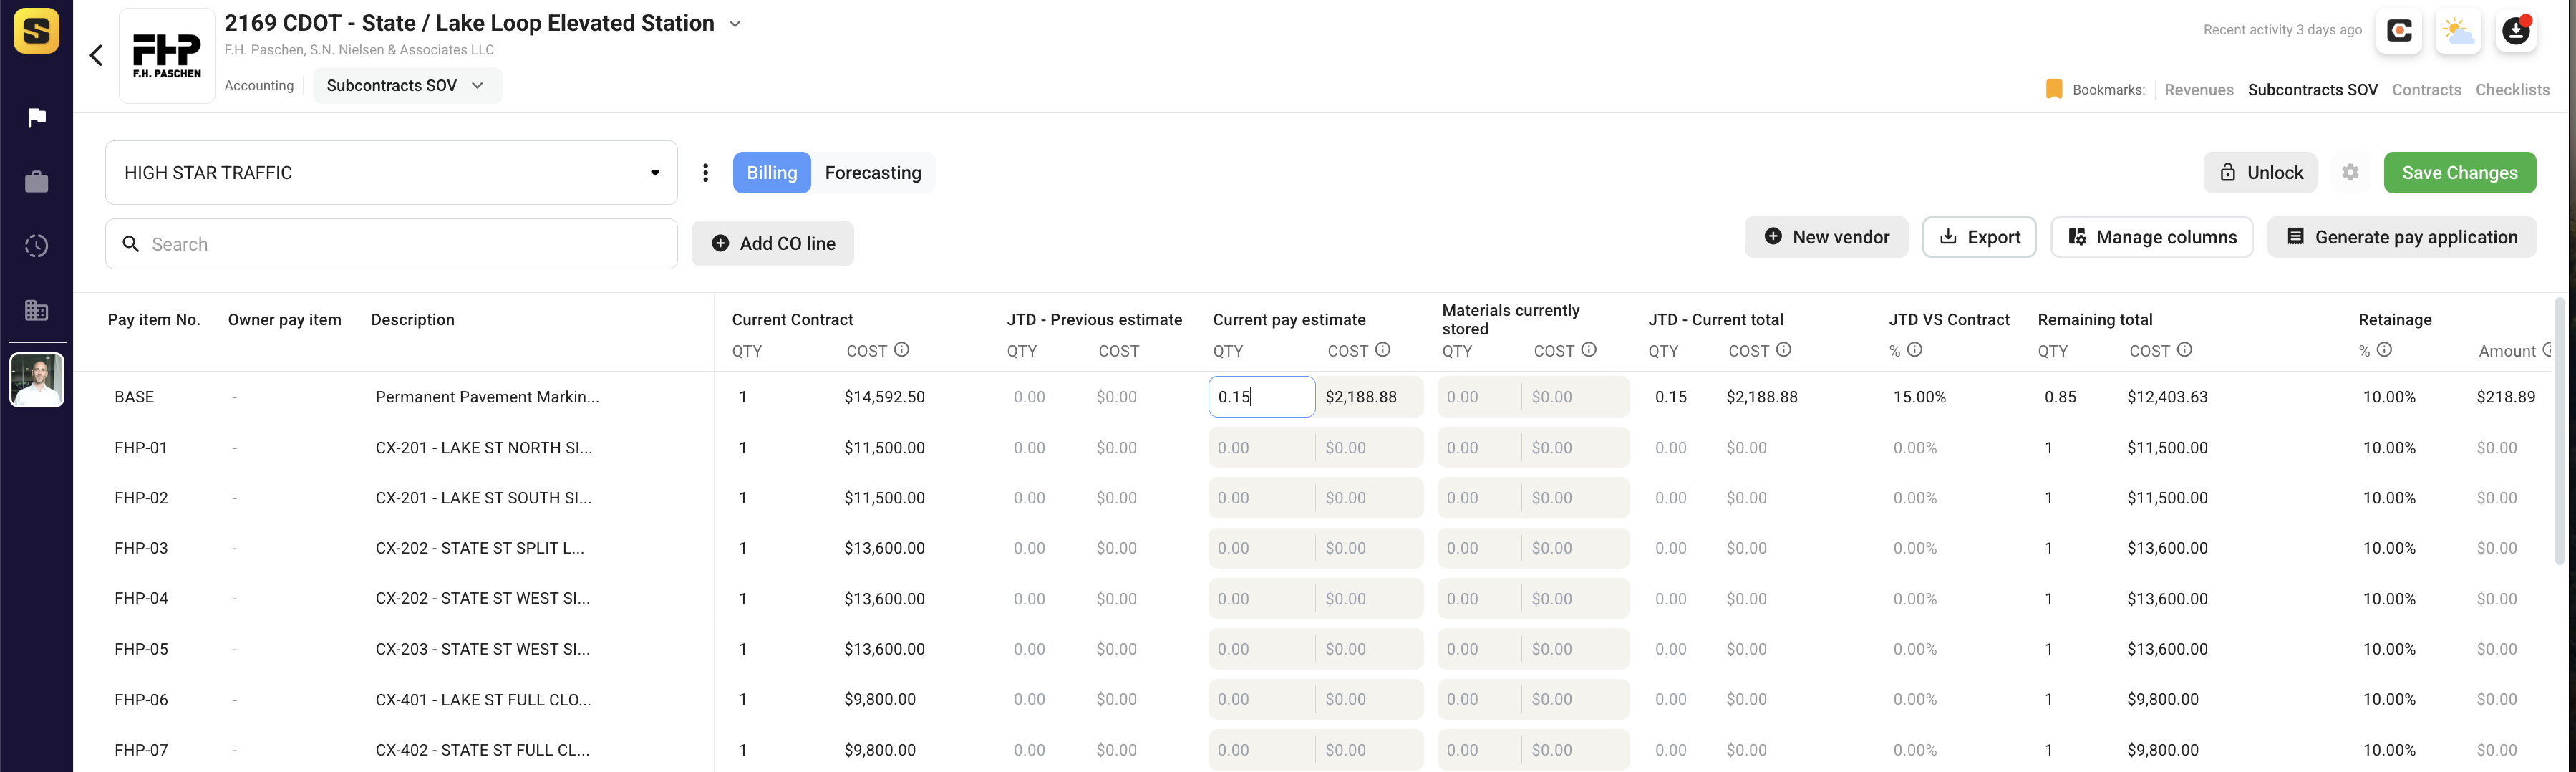
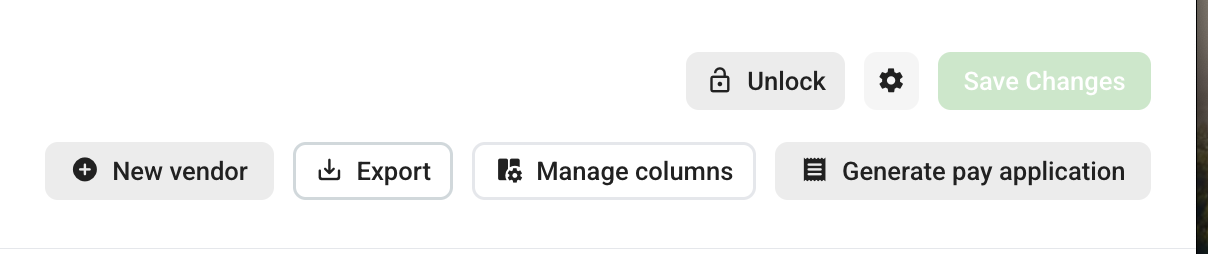
- Once you have updated all the line items you wish to bill in the Current Pay Estimate column and Materials Stored to Date, double check the subtotals at the bottom of your screen. If everything looks correct, click the 'Generate Pay Application' button on the top right of the view.
- Review the Pay App Generation Form, confirm the values are correct.
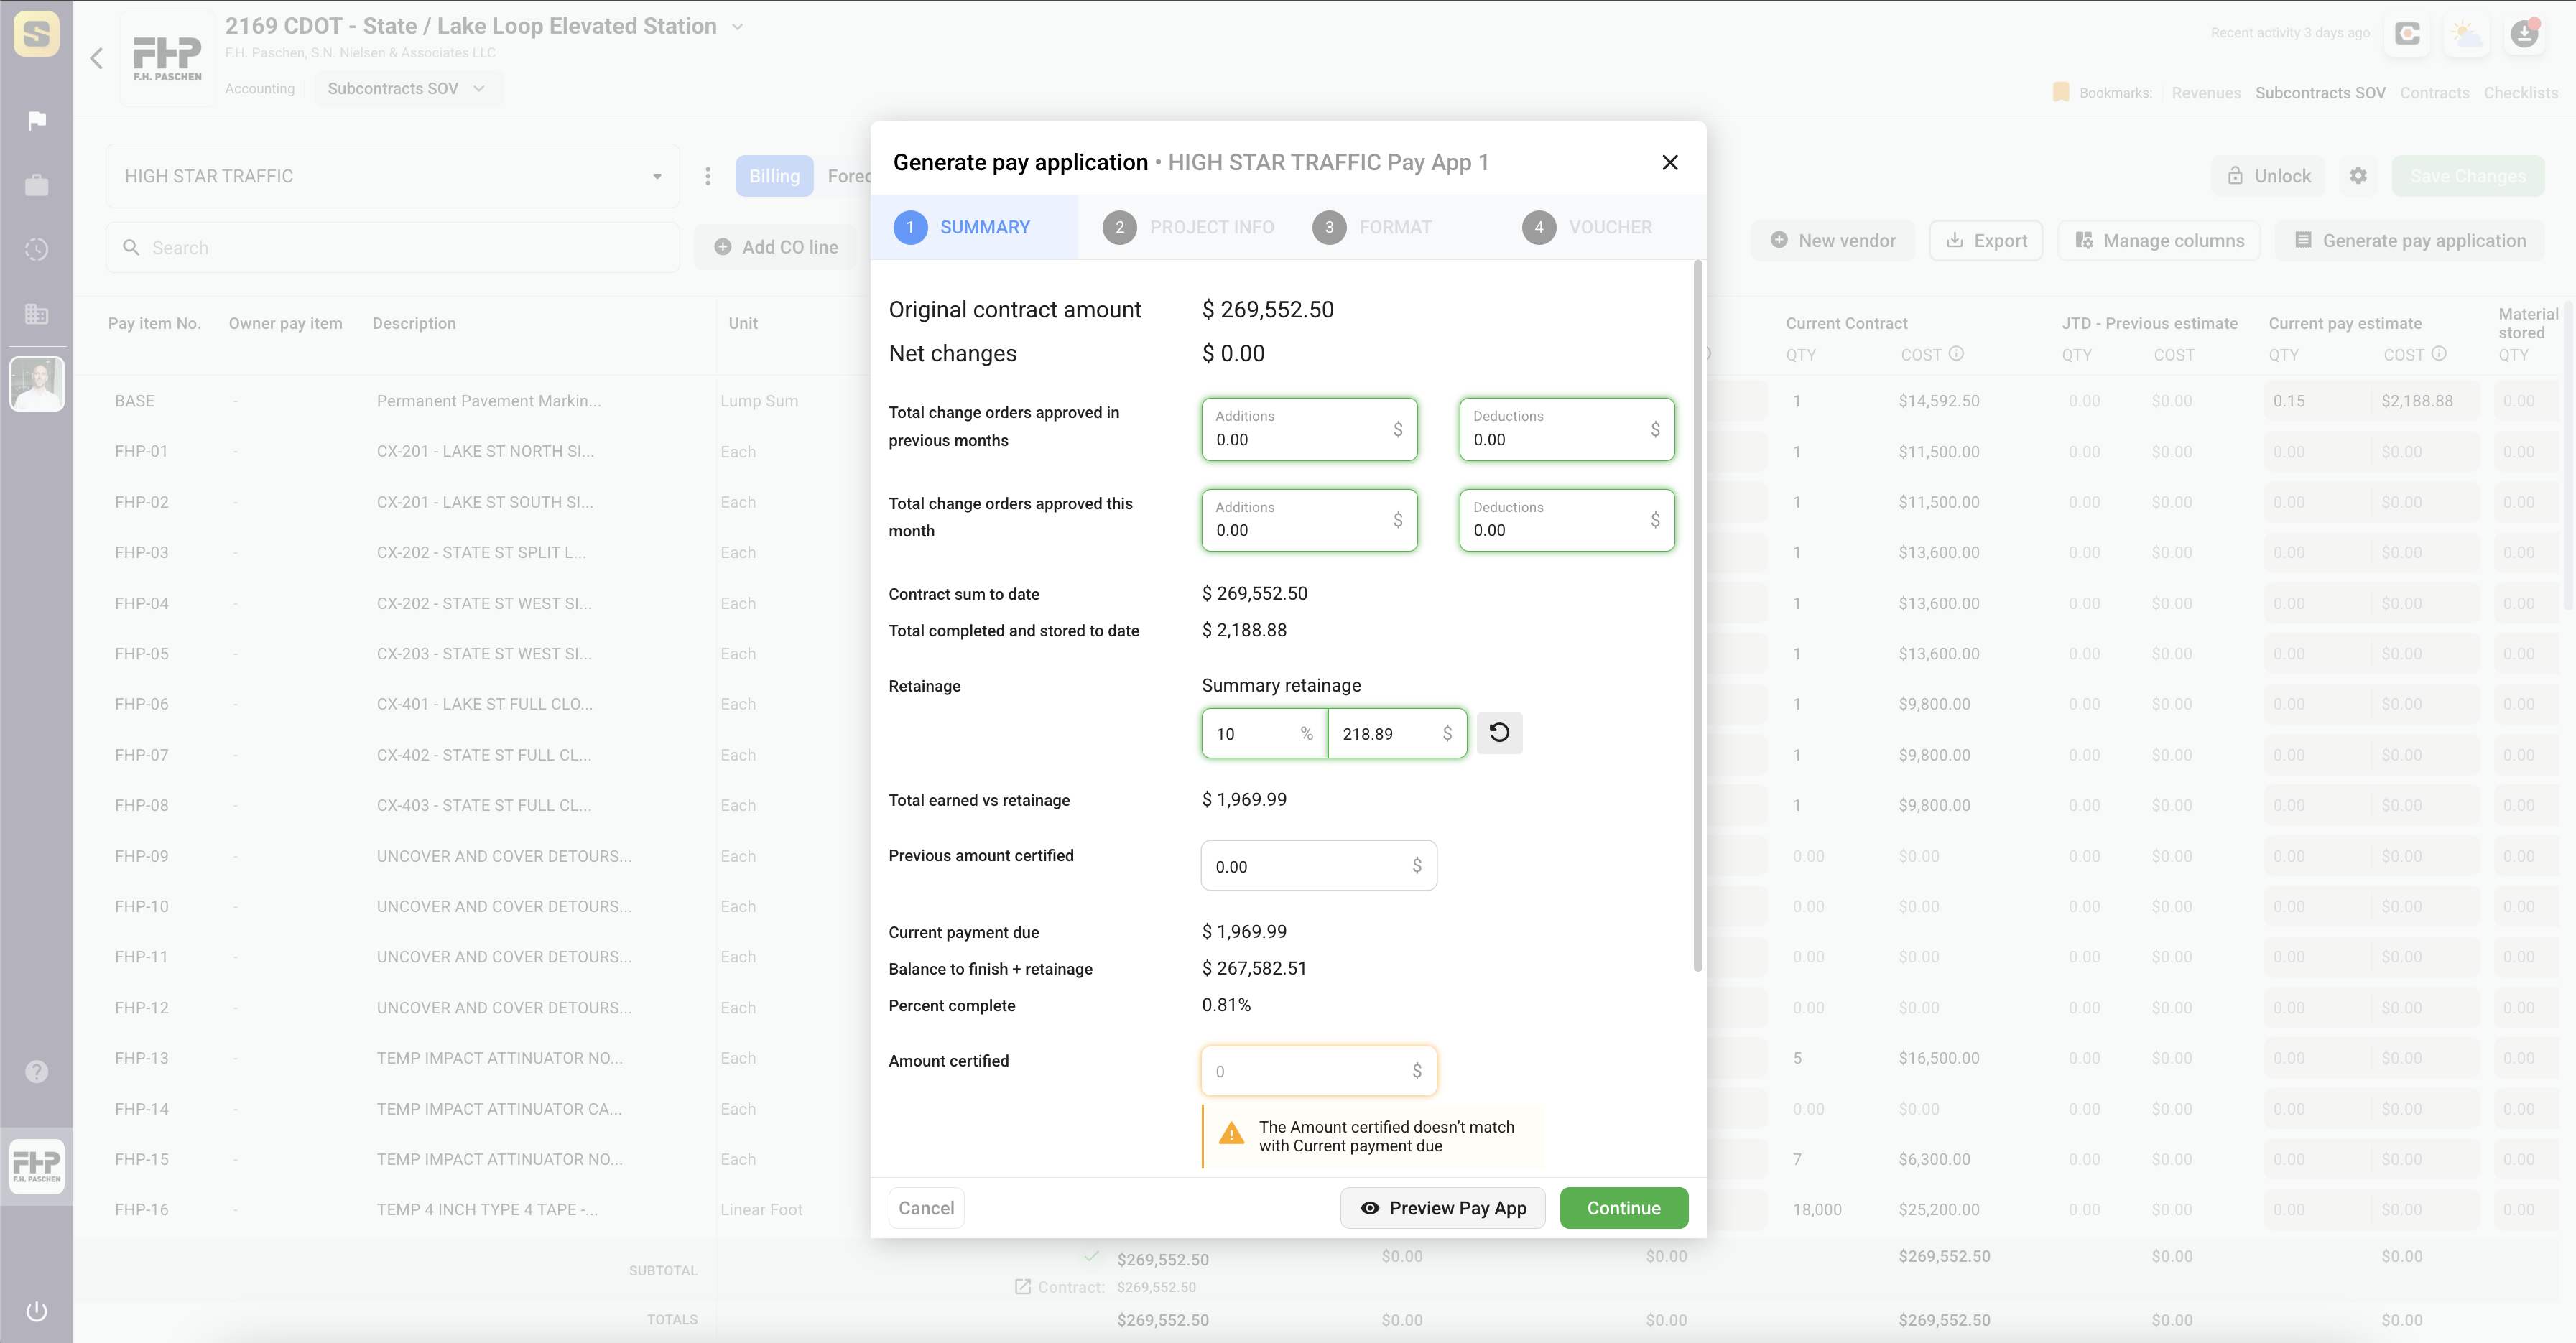
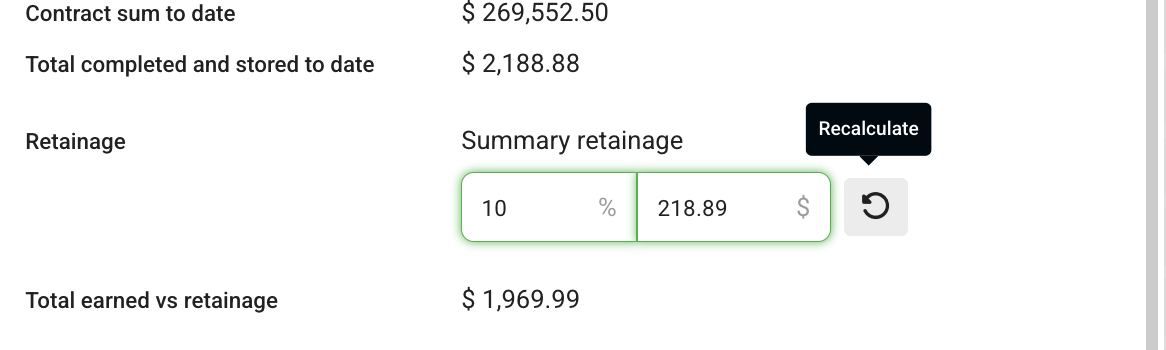
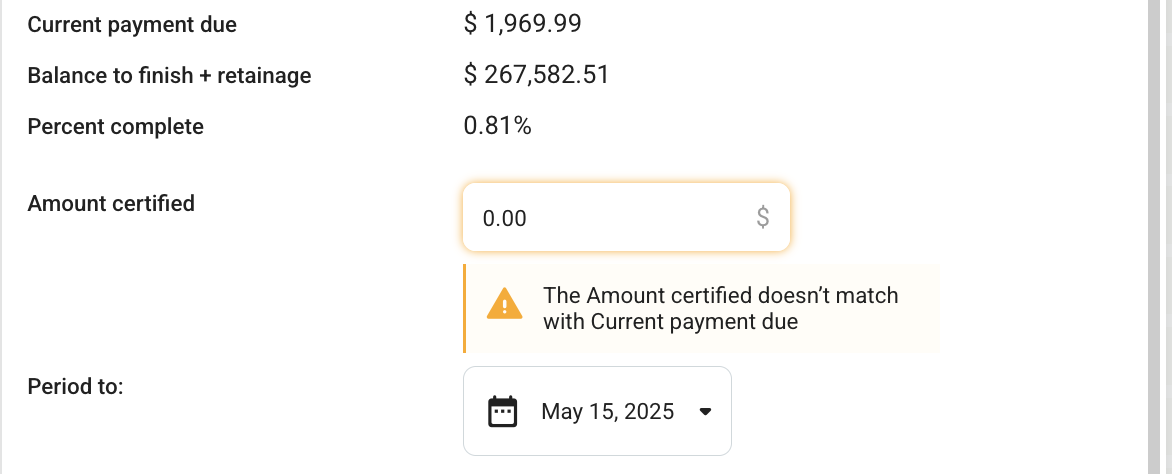
- Recalculate retention if needed directly in the pay app generation form. We included this option on the pay app generation form so users do not have to go back and edit the contract settings as retention often gets reduced as contracts near the end. Note: after adjusting the retention values be sure to click the recalculate button to apply the change.
- Site Specs requires users manually enter the Certified Amount value in the Pay App Generation Form as a manual check for the user to confirm the amount and prevent human error.
- Complete the remaining required fields in the form, then click continue to confirm the Project Info displayed on the Pay App G702 is correct.
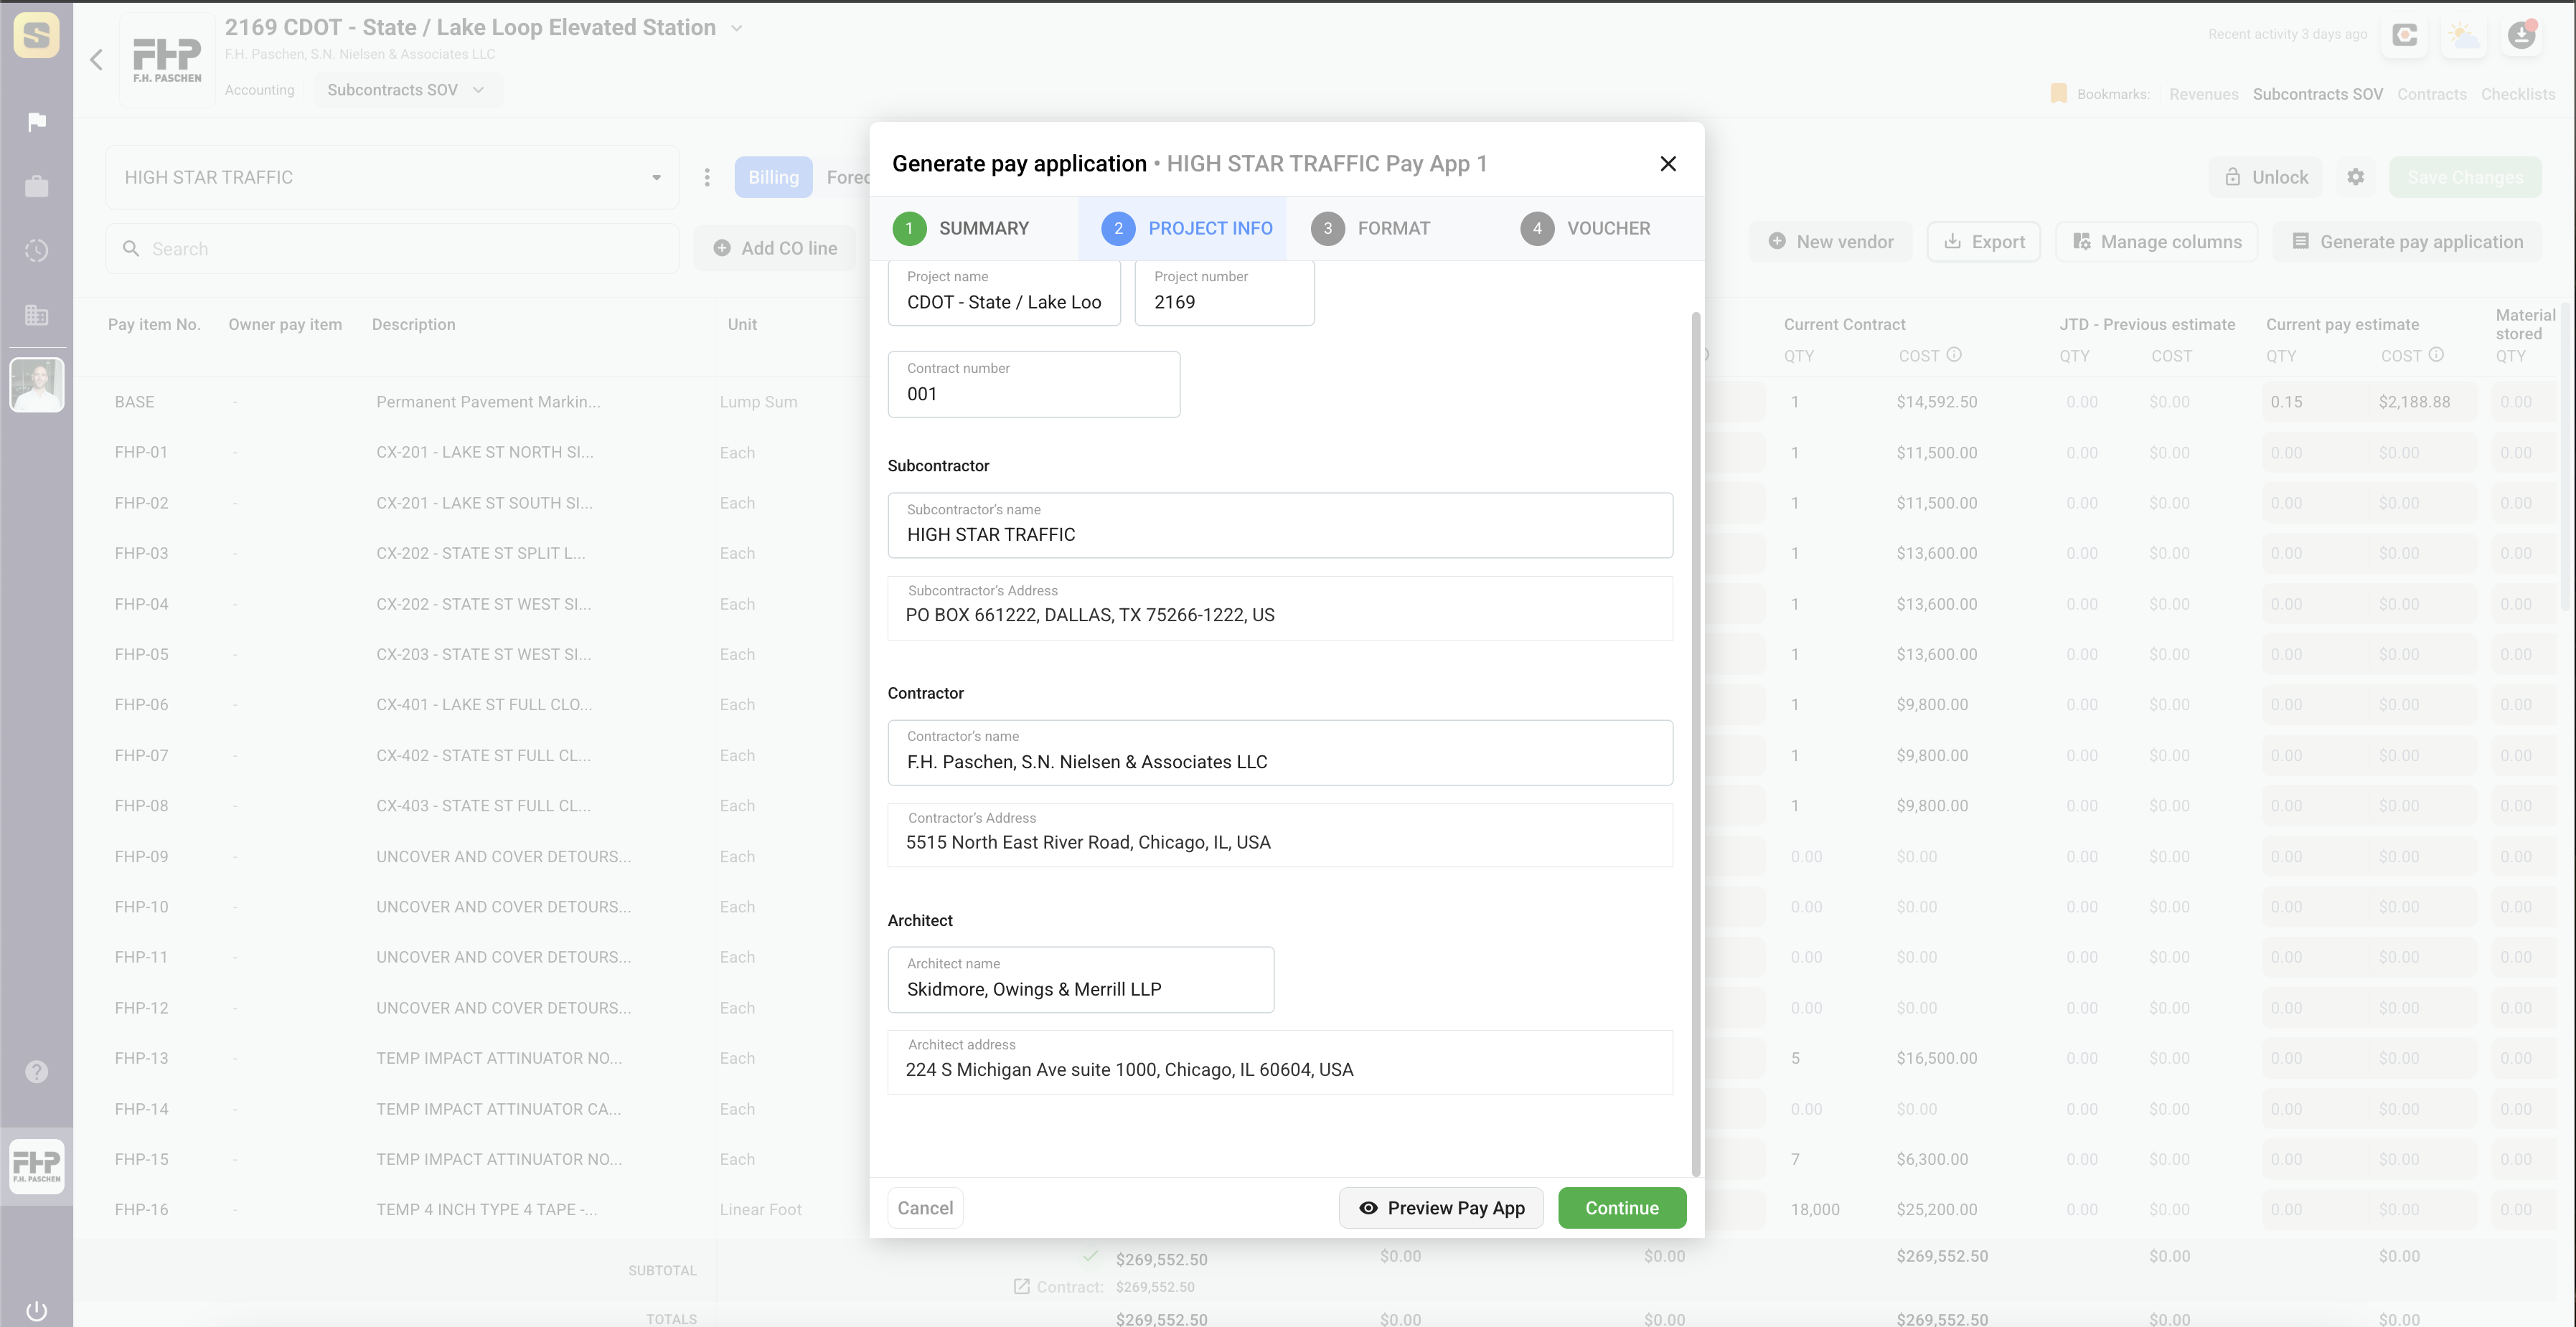
NOTE: This info is auto-populated from your 'Project Info' tab within the project. Site Specs often derives information from the Project Info in order to save users time and reduce manual data entry.
- Click the 'Preview Pay App' to preview the document at anytime during this process.

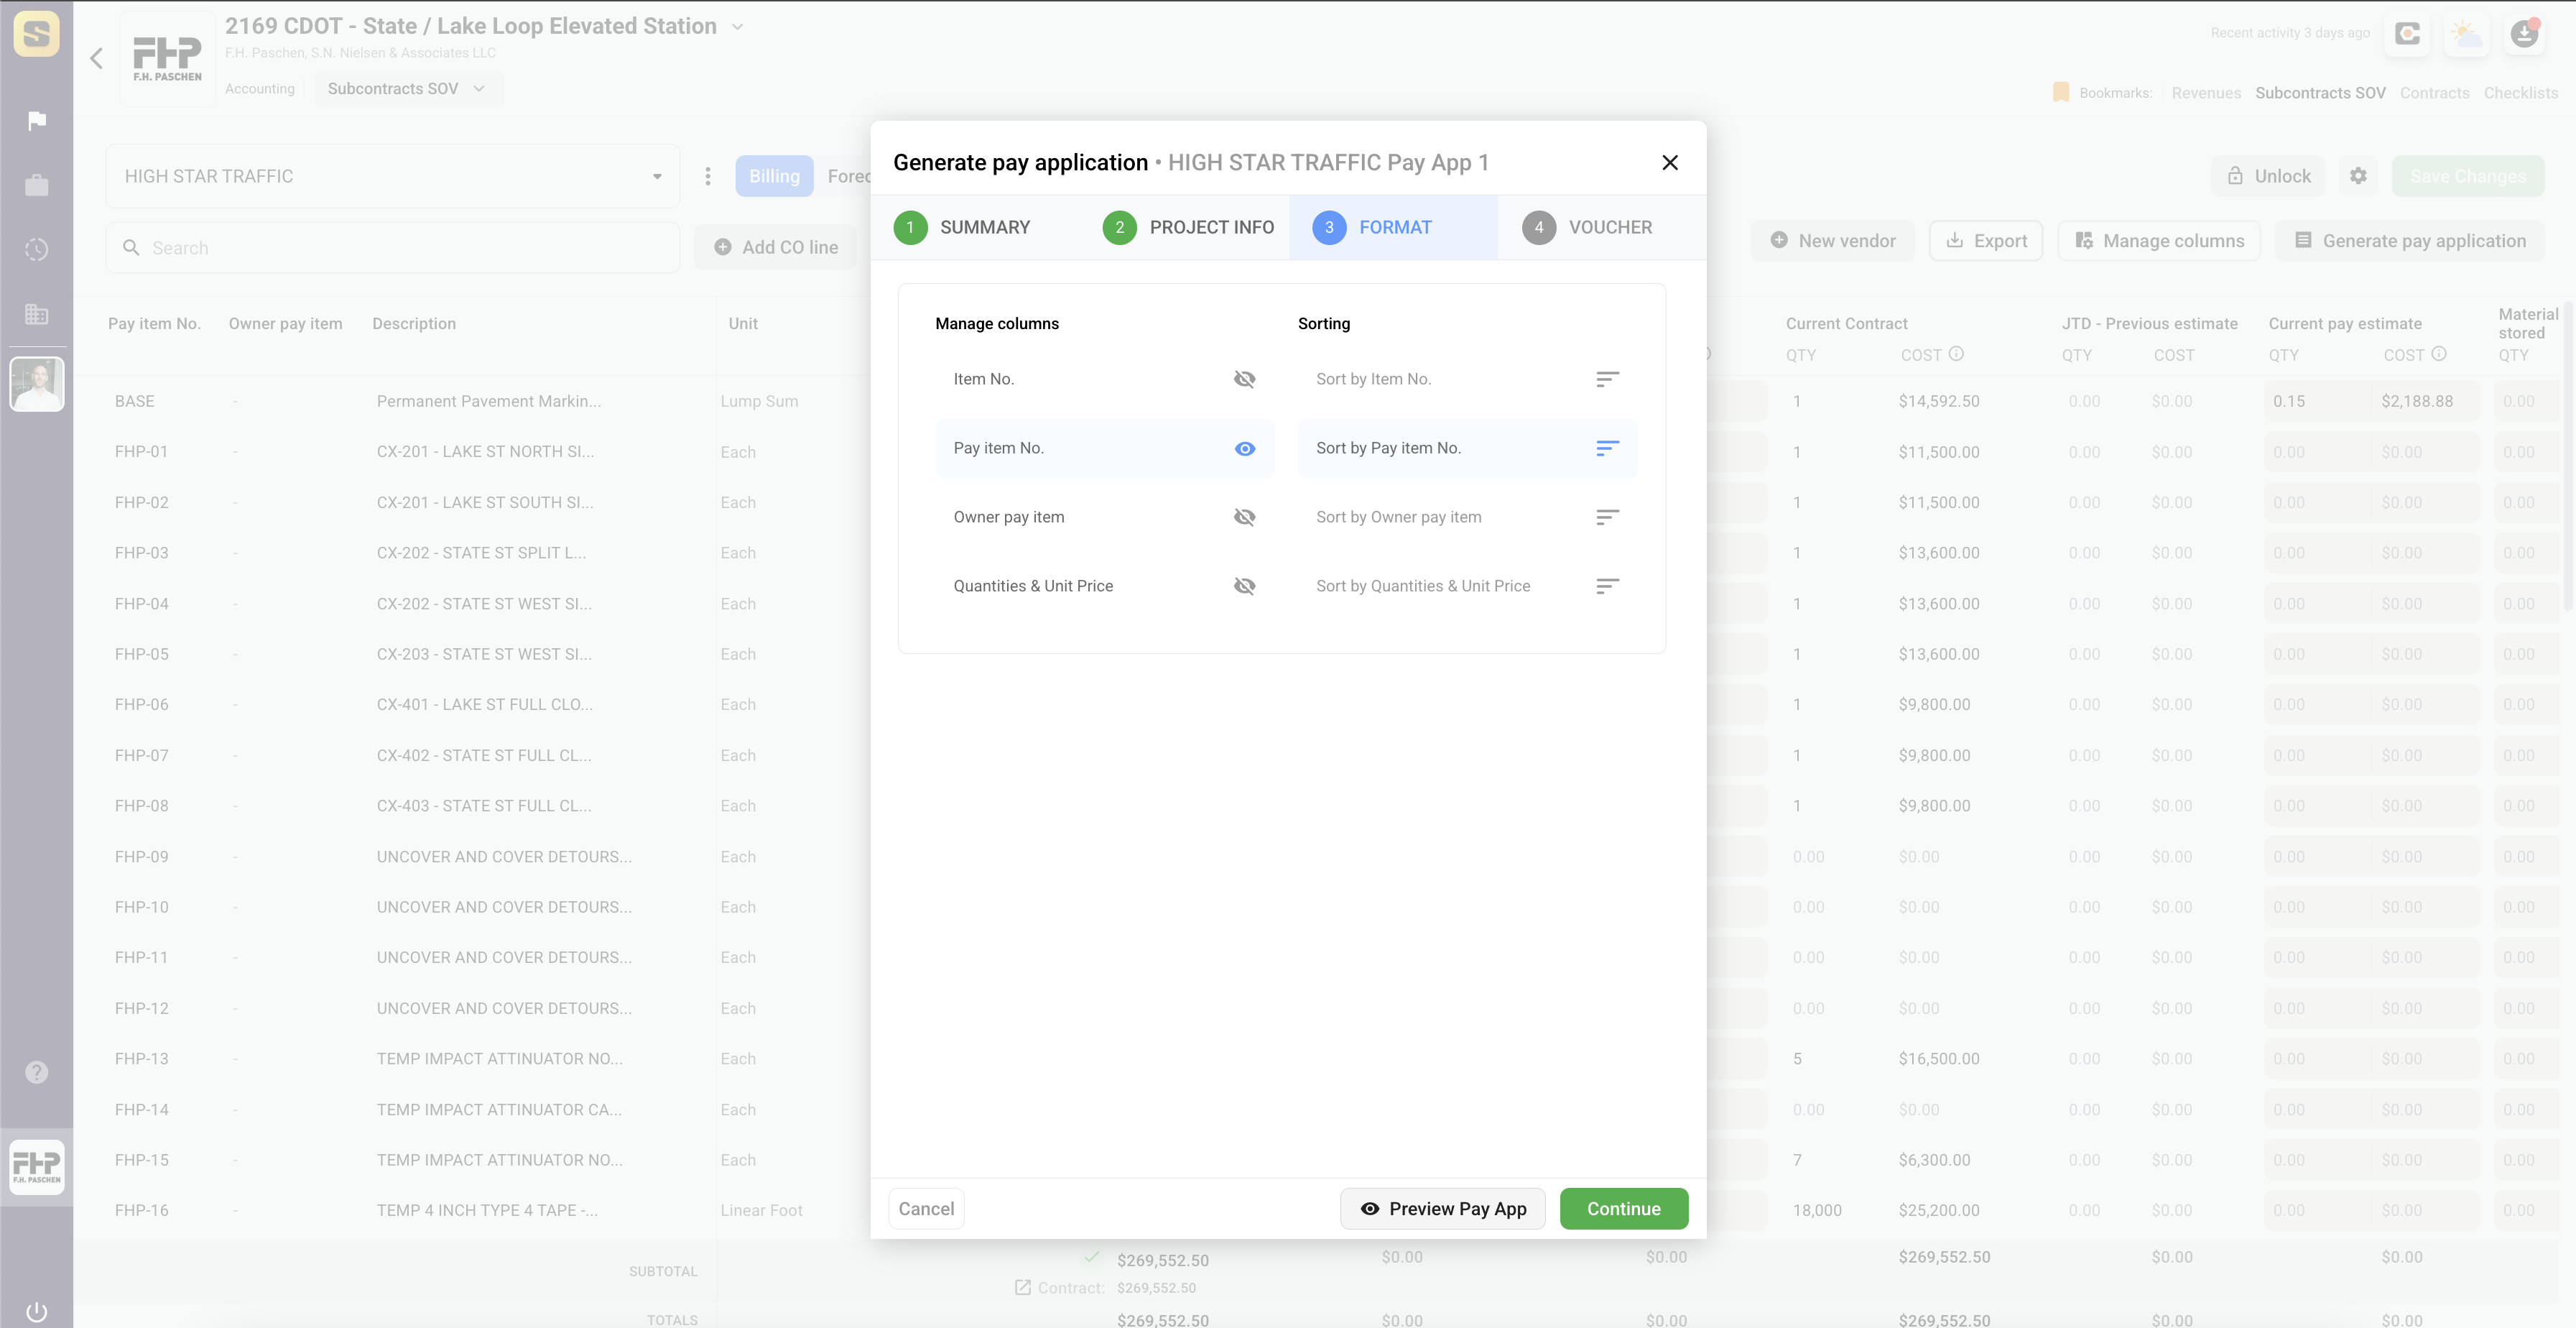
- Next, select the format you want for your G703 (Pay App Payment Schedule). You can chose which columns are visible on the G703 and how the schedule of values is sorted.
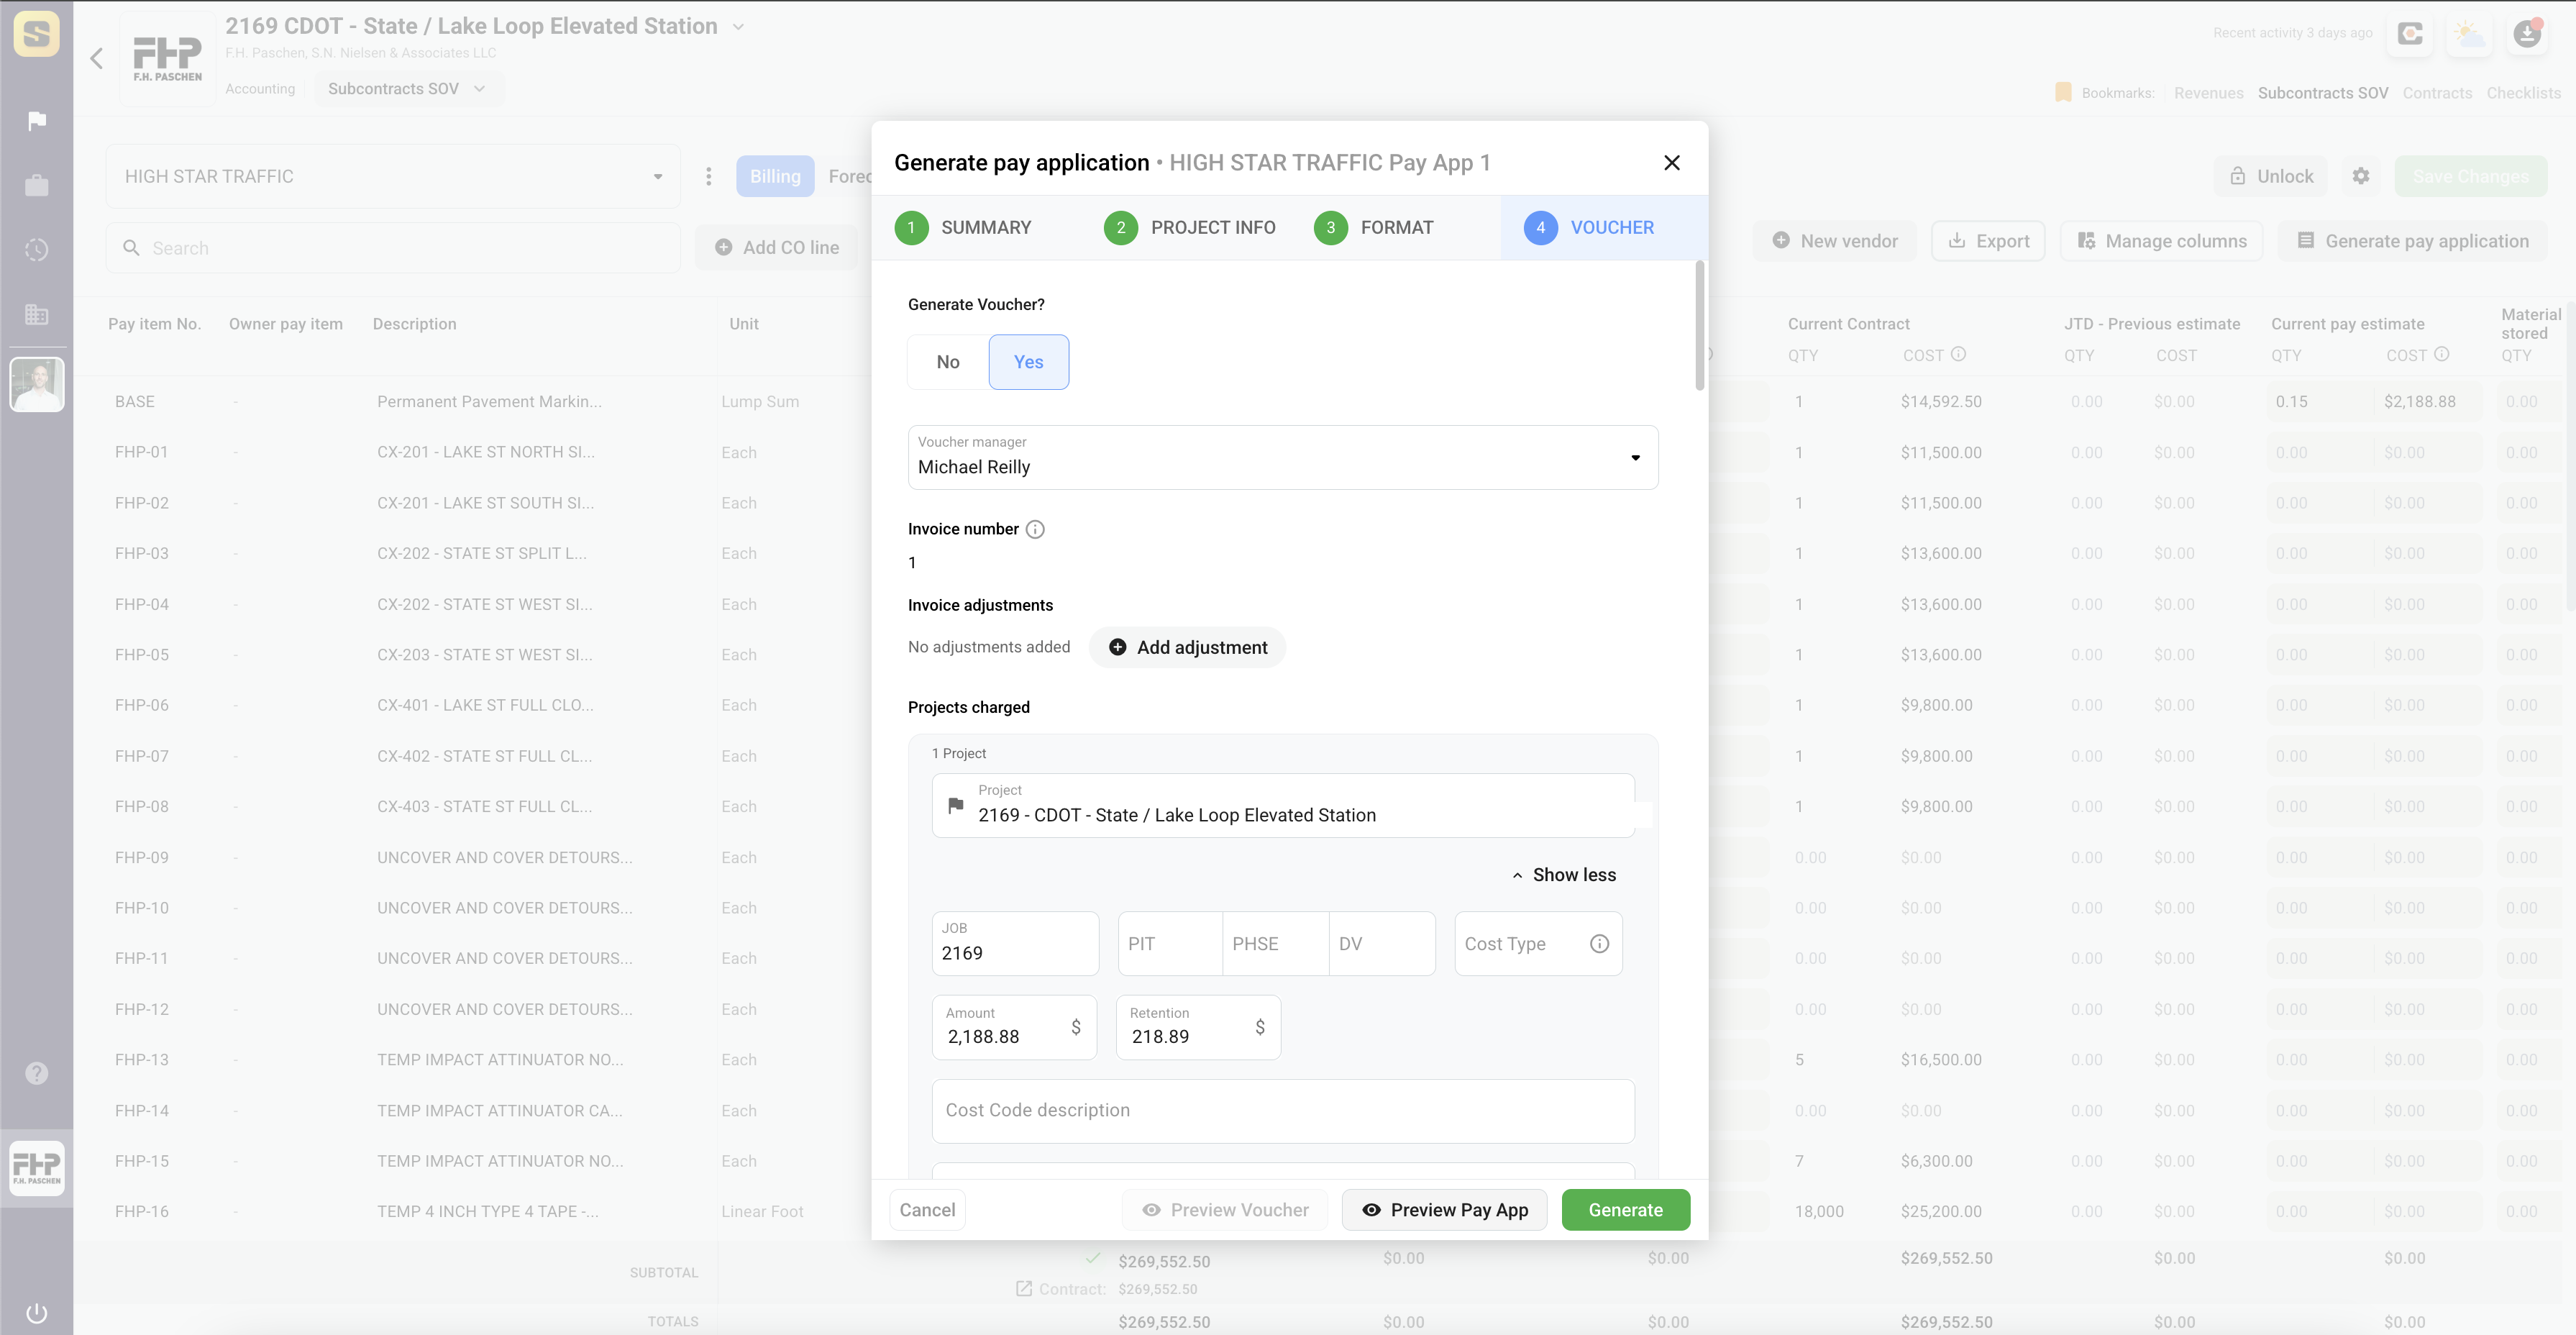
- Lastly, if your company has vouchering enabled in Site Specs, you can generate the voucher to cost code the Pay App and submit the voucher for approval.
After the pay app is generated you will notice the 'Current Pay Period' columns are cleared out and the 'JTD Previous Estimate' columns have been updates to reflect the current state of the payment schedule for the vendor.
You can then view all your projects pay apps on the Pay Applications tab.

Things to Consider
- Users can always input QTYs throughout a payment period and click 'Save' to save the updates made to a vendor's current schedule of values. This allows users to track progress of a vendor on a live basis throughout the pay period rather then tracking progress separately and updating line items all at once.
- Users can click the 'Manage Columns' button to edit their own personal view. Managing your columns only customizes your view and does not affect anyone else's view.
- Once your baseline schedule of values is correct and matches the vendors' contracts, avoid unlocking and making changes that might bring the SOV out of sync with reality.
Issues or Questions?
Contact Support at Support@SiteSpecs.io